


Mercedes designo paint issues like blistering and peeling result from factors including temperature extremes, UV radiation, poor preparation, and previous damage. Repairs require meticulous detail work to match the intricate finish, following steps: clean/inspect, sand/etch, fill/level, prime/paint, and final touches, preserving vehicle value and aesthetic appeal.
Mercedes designo paint repair is a specialized service required for addressing blistering or peeling issues in high-end Mercedes vehicles. These problems can arise from various factors, including poor initial application, environmental stressors, or age-related deterioration. Understanding the root causes is key to effective repair. This article guides you through the process, from identifying blistering and peeling to a step-by-step repair approach, ensuring optimal results for your Mercedes designo paint job.
- Understanding Mercedes designo Paint Issues
- Identifying Blistering and Peeling Causes
- Step-by-Step Repair Process for Optimal Results
Understanding Mercedes designo Paint Issues

Mercedes designo paint issues can manifest as blistering or peeling, which are often caused by a variety of factors specific to these high-end vehicles. The sophisticated designo paints used in Mercedes cars are renowned for their durability and vibrant finishes, but they require specialized care. Blistering typically occurs due to improper application during the manufacturing process, exposure to extreme temperatures, or underlying structural issues. Peeling, on the other hand, can result from poor preparation of the car’s surface before painting, as well as environmental factors like UV radiation, chemical reactions, or even normal wear and tear over time.
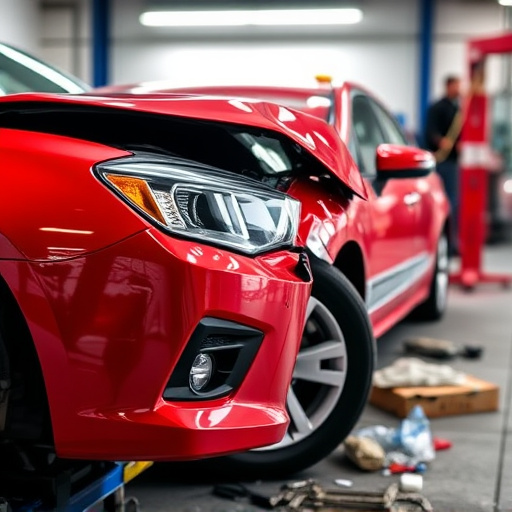
Unlike regular auto glass repair or vehicle dent repair, Mercedes designo paint repair demands a keen eye for detail and an understanding of the intricate finish. The process involves meticulous preparation to ensure the underlying surface is free from contaminants, followed by careful replication of the designo paint’s unique properties. This specialized repair work not only restores the car’s aesthetic appeal but also maintains its high-end value and overall integrity.
Identifying Blistering and Peeling Causes

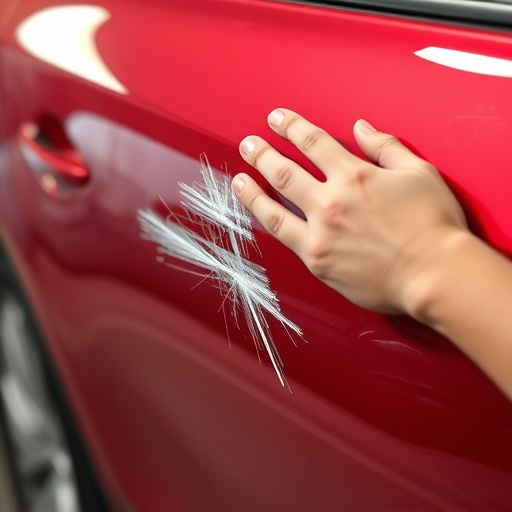
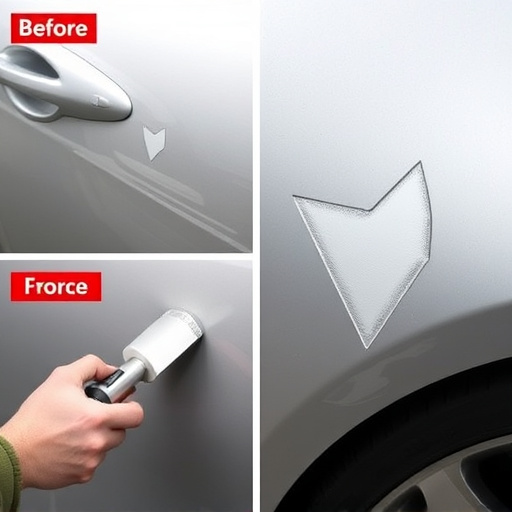
Blistering and peeling on a Mercedes designo paint job can be caused by several factors. It’s crucial to understand these origins to effectively address the issue. Initially, environmental conditions play a significant role, especially extreme temperatures and UV exposure from the sun. These elements can accelerate the deterioration of the paint, leading to blisters or peeling. Furthermore, underlying issues like poor initial preparation, subpar painting techniques, or even previous collision repair work can compromise the integrity of the paint job, making it more susceptible to damage.
Another common cause is everyday use and exposure to various road conditions. Bumps, vibrations, and varying weather patterns can contribute to small cracks in the paint, which, over time, can develop into blisters or peeling areas. It’s also worth noting that certain car dent repair methods or bumper repairs might not be conducted with the meticulous care required for a Mercedes designo paint job, leading to cosmetic issues that manifest as blistering or peeling.
Step-by-Step Repair Process for Optimal Results

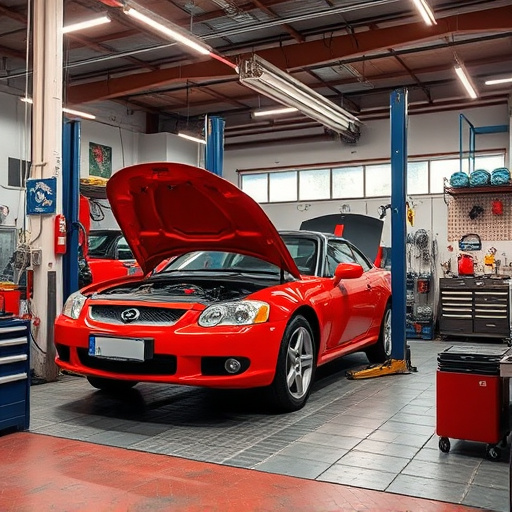
The Mercedes designo paint repair process requires a meticulous approach to achieve optimal results and maintain the vehicle’s luxurious aesthetic. Here’s a step-by-step guide for repairing blistering or peeling paint, ensuring a seamless finish:
1. Preparation: Begin by thoroughly cleaning the damaged area to remove any dirt, grease, or debris. This includes using specialized cleaners to prepare the surface for painting. Inspect the surrounding area to ensure no additional damage is present.
2. Sand and Etch: Lightly sand the blistered or peeled paint area with fine-grit sandpaper, taking care not to disturb the adjacent unharmed paint. Etch the surface using a suitable etcher to create a rough texture, allowing for better paint adhesion.
3. Fill and Level: Apply a high-quality automotive body filler to fill in any gaps or imperfections created during sanding. Use a putty knife to level and smooth the filler, ensuring it matches the original car body contour. Allow the filler to dry completely.
4. Sand Again: Once dry, lightly sand the filled area with finer sandpaper to achieve a smooth surface. This step ensures the area is ready for painting without any rough patches.
5. Prime and Paint: Apply an appropriate primer, allowing it to dry. Then, use a high-quality Mercedes designo paint that matches the vehicle’s exact color specifications. Paint in thin, even layers, following the manufacturer’s guidelines for drying times between coats.
6. Final Touches: After the final coat of paint has dried, inspect the repair closely. Address any minor imperfections with fine sandpaper and a touch-up paint pen to ensure a flawless finish that blends seamlessly with the rest of the vehicle.
Mercedes designo paint repair is a specialized process that addresses blistering or peeling issues specific to these high-end vehicles. By understanding the underlying causes, from environmental factors to material imperfections, car owners can effectively navigate the repair process. The step-by-step guide provided offers a comprehensive approach to achieving optimal results, ensuring your Mercedes retains its glossy finish and pristine appearance.