Mercedes designo paint repair requires skilled technicians and specialized tools for meticulous frame straightening, precise color matching, and expert blending. Prepare the surface with sandpaper and primer, apply thin coats of high-quality designo paint, cure properly, and inspect for flawless results. Essential materials include paint guns, sandpaper, specific primers/paints, tape, knives, clay bars, protective gear, and a clean work area. Follow this guide for successful restoration of your Mercedes' unique designo paintwork.
Discover the art of expertly repairing your Mercedes designo paint job with this comprehensive guide. Understanding the unique Mercedes designo paint system is key, characterized by its advanced technology and high-quality finish. This article equips you with the knowledge to tackle the process head-on. From gathering the essential tools and materials to a detailed step-by-step repair manual, master the technique for achieving flawless results that rival factory standards. Master Mercedes designo paint repair today!
- Understanding Mercedes designo Paint System
- Tools and Materials Required for Repair
- Step-by-Step Guide to Successful Paint Repair
Understanding Mercedes designo Paint System
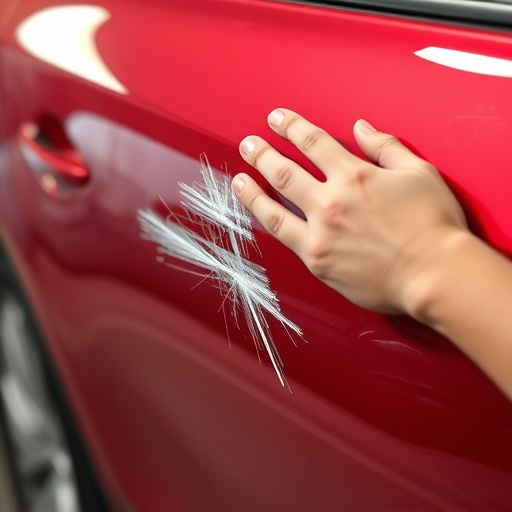
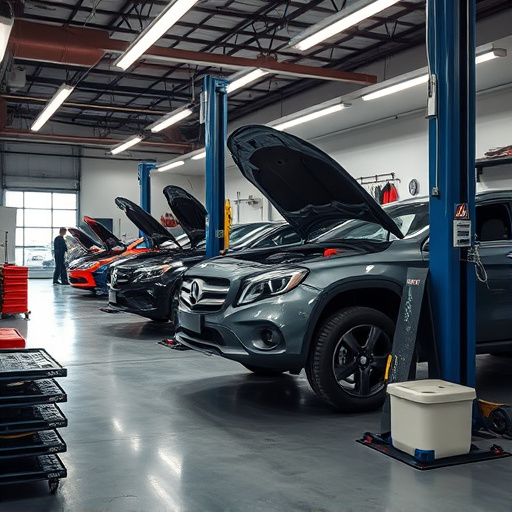
The Mercedes designo paint system is a cutting-edge technology that sets the brand apart when it comes to vehicle finishes. This advanced coating is designed to offer unparalleled durability, resistance to UV rays, and exceptional color retention. Understanding this intricate system is key when performing any repair work, especially in cases of minor damage like scratches or nicks.
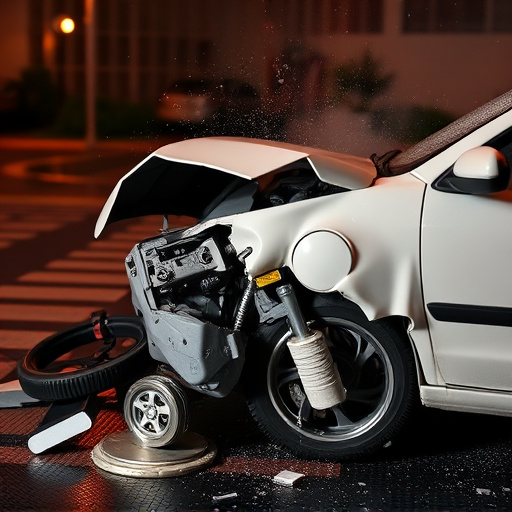
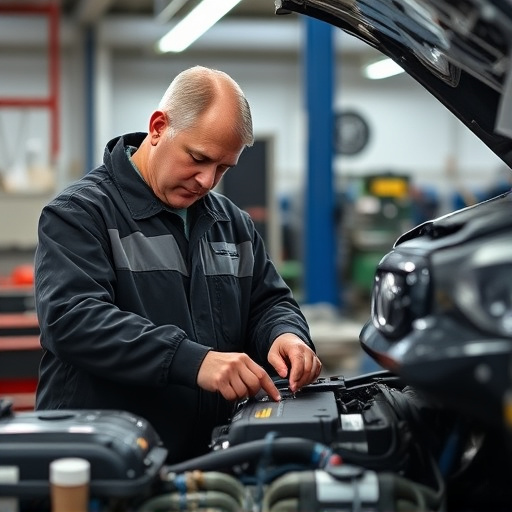
When a fender bender or scratch repair is required, the goal is to preserve the designo paint’s integrity while ensuring seamless fusion with the existing finish. This often involves meticulous frame straightening and precise color matching. The process requires skilled technicians who can expertly blend the paint, matching not just the color but also the texture and gloss level, resulting in a virtually invisible repair that mirrors the original design.
Tools and Materials Required for Repair

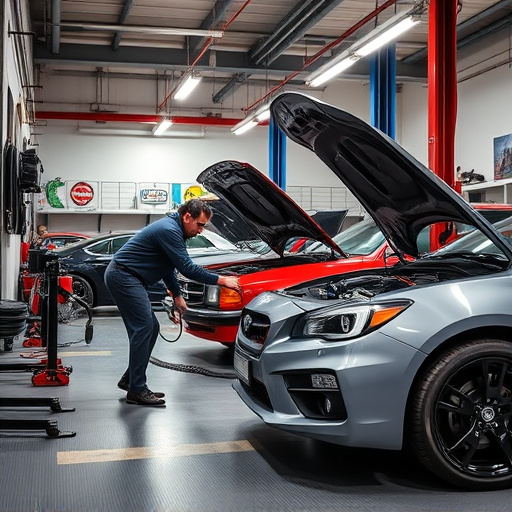
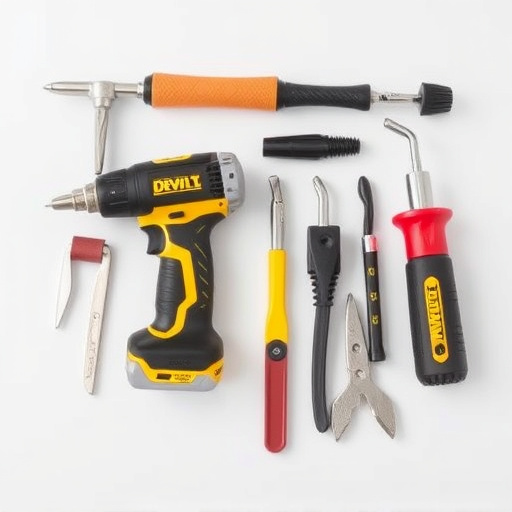
To successfully undertake a Mercedes designo paint repair, several specific tools and materials are essential. The process demands precision and high-quality components to match the iconic brand’s standards. Begin with gathering the necessary equipment, including specialized paint guns, masks, and brushes designed for fine detail work. For efficient sanding, opt for progressively finer grits of sandpaper tailored for automotive applications. A set of high-quality primer and topcoat paints specific to Mercedes designo finishes is crucial, ensuring an exact color match. Additionally, consider investing in a good quality auto painting tape for clean, precise edges during the repair process. These materials form the foundation for achieving a flawless, professional-grade Mercedes designo paint job, addressing any damages or scratches effectively.
Beyond these core items, other tools like putty knives, clay bars for removing minor imperfections, and a stable work surface are beneficial. A well-lit, clean environment facilitates accurate work. Moreover, gloves, safety goggles, and appropriate respiratory protection contribute to a safe painting process, especially when handling chemicals and fine particles. With the right tools at hand, you’re prepared to tackle the intricate details of automotive body work, ensuring a remarkable Mercedes designo paint repair outcome.
Step-by-Step Guide to Successful Paint Repair
Performing a Mercedes designo paint repair requires precision and attention to detail. Here’s a step-by-step guide to ensure success:
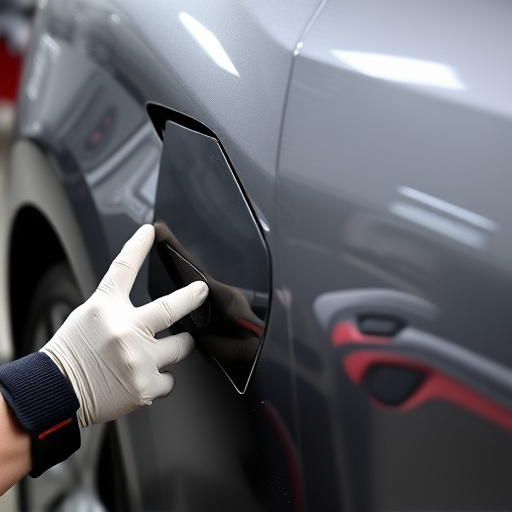
1. Preparation: Begin by thoroughly cleaning and degreasing the damaged area. This includes removing any dirt, grease, or debris that could hinder the painting process. Inspect the underlying panel for any signs of rust or damage, addressing these issues before proceeding. For a seamless finish, make sure the surface is dry and free from moisture.
2. Sand and Prime: Use fine-grit sandpaper to gently sand the damaged area, creating a smooth surface for painting. Remove any remaining paint or debris with a clean cloth. Apply an automotive-grade primer specifically designed for Mercedes designo paints. This step primes the surface, ensuring better adhesion of the new paint. Let the primer dry completely according to the manufacturer’s instructions before moving on to the next stage.
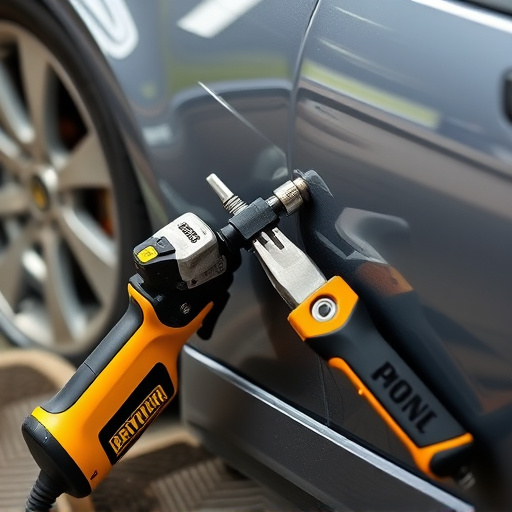
3. Color Match and Paint Application: Using a high-quality Mercedes designo paint, carefully match the color of the surrounding area. Apply the paint in thin, even coats, allowing each coat to dry thoroughly between applications. This process requires patience and precision to achieve a flawless finish. Consider using a spray gun for consistent coverage, ensuring no overspray on adjacent surfaces.
4. Baking and Final Touches: After the final coat of paint has dried, bake the area in an oven or use a heat gun (as per paint specifications) to cure the paint properly. This step sets the paint and ensures long-lasting durability. Once cured, inspect the repair for any imperfections, touch up if necessary, and enjoy the restored beauty of your Mercedes’ designo finish. Remember, proper ventilation is crucial during this process due to the use of automotive paints and solvents.
Mercedes designo paint repair requires a meticulous approach, understanding the unique system, and using the right tools. By following the step-by-step guide outlined in this article, you’ll be equipped to successfully restore the pristine finish of your Mercedes vehicle. Remember, attention to detail is key to achieving professional results that match the car’s high standards. For any complex repairs, consider seeking expert advice for optimal outcomes.