


Before repairing Mercedes designo paint, assess and prepare the damaged surface, cleaning it thoroughly. Mix paint with thinner as per manufacturer guidelines, applying thin layers evenly for a smooth finish. After curing, experts inspect and fine-tune the repair, ensuring no defects or inconsistencies, aiming for factory specifications.
“Uncover the meticulous process of Mercedes designo paint repair, a guide tailored for both professionals and enthusiasts. From assessing subtle damage to achieving flawless finishes, this step-by-step approach ensures your vehicle regains its iconic aesthetic. First, prepare the surface by thoroughly cleaning and inspecting it. Next, mix the specialized designo paint precisely, following manufacturer guidelines. Apply the paint with care, allowing layers to dry before final touches. Rigorous quality control ensures a vibrant, durable repair that matches Mercedes’ high standards.”
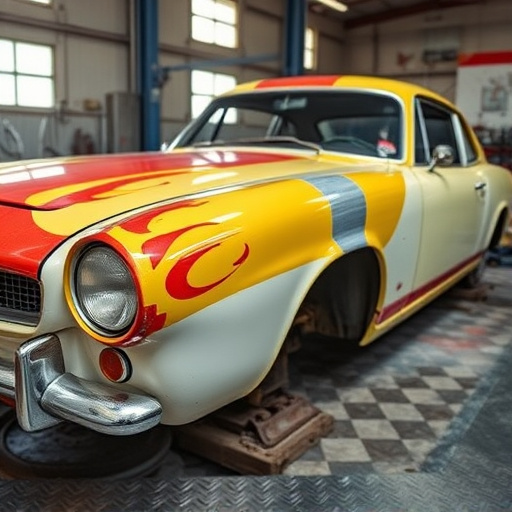
Assess Damage and Prepare Surface

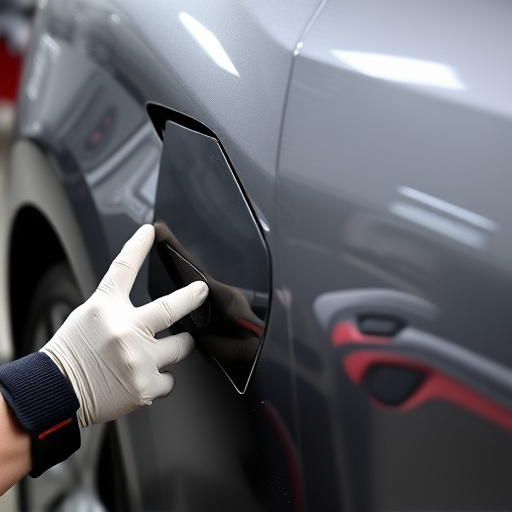
Before initiating any Mercedes designo paint repair process, it’s crucial to assess the damage and prepare the surface thoroughly. This initial step is a fundamental part of ensuring a flawless restoration. Inspect the vehicle for dents, scratches, or any other forms of exterior damage that require attention. For minor bumps and dents, a professional bumper repair might be sufficient to restore its original appearance.
Proper preparation involves cleaning the damaged area and surrounding surfaces to eliminate grease, dirt, or debris. This can be done using specialized cleaning agents and tools to ensure the paint surface is ready for repair. In some cases, especially with more severe damage like large dents or extensive scratches, dent repair techniques may be employed to create a smooth base before applying Mercedes designo paint repairs, ensuring optimal results in the final restoration.
Mix and Apply Designo Paint

After preparing the damaged area, it’s time to mix and apply the Mercedes designo paint. Start by carefully mixing small amounts of the paint with the appropriate thinner in a clean container. The exact ratio will depend on the type of damage and the desired finish, so follow the manufacturer’s guidelines or consult a professional for precise instructions. Once the paint is thoroughly mixed, use a high-quality brush or sprayer to apply it evenly over the repair area. Ensure even coverage without visible streaks or drips.
For optimal results, apply thin layers of paint, allowing each coat to dry slightly before adding another. This process not only ensures a smooth finish but also helps in hiding imperfections from previous car damage repair attempts. Remember that patience is key; take your time to achieve the desired effect. In automotive repair services, attention to detail at this stage significantly contributes to the overall quality of the Mercedes designo paint repair.
Final Touches and Quality Control

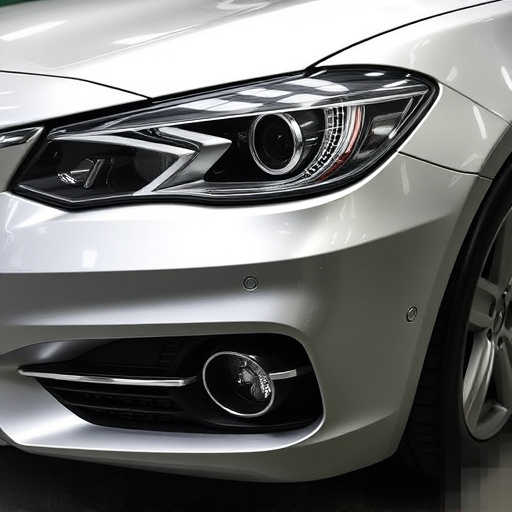
After the paint has fully cured, it’s time to bring your Mercedes designo paint repair to its final gleam. This involves a meticulous process of quality control and final touches. Expert technicians will inspect the repaired area under various lighting conditions to ensure there are no visible defects or inconsistencies in the paint job. They’ll check for smooth blending of the new paint with the surrounding areas, verifying that all edges and contours are crisp and precise.
This step also includes a thorough cleaning and decontaminating process to remove any residue or contaminants from the surface. The final touches focus on achieving a flawless finish that matches the original factory specifications. Through this rigorous quality control, an automotive body shop ensures that the Mercedes designo paint repair not only looks good but also stands the test of time, providing a pristine and durable finish for your vehicle.
Mercedes designo paint repair is an art that requires precision, patience, and a deep understanding of automotive aesthetics. By following these meticulous steps—from assessing damage and preparing the surface, to mixing and applying the specialized Designo paint, and finally adding those crucial final touches—you can achieve a flawless, factory-like finish. Remember, attention to detail is key when it comes to restoring your Mercedes’ pristine appearance, ensuring that every scratch and imperfection is concealed, leaving only a stunning, harmonious tapestry of color.